I don’t know whether to call this part the fun part or the hard work part.
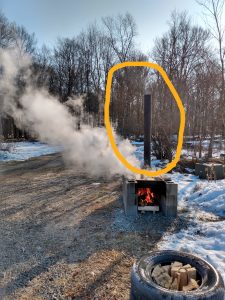
In general, it takes 40 gallons of sap to make 1 gallon of syrup. That’s a lot of boiling and watching a lot of steam coming off of that sap. While I know some friends who boil their sap down in a pot on the stove, their boiling is only for a cup’s worth, maybe two. For anything larger, I highly recommend most, if not all, of the boiling be outside or in an outdoor shed type structure. Somewhere that you can create a lot of steam with no worries.
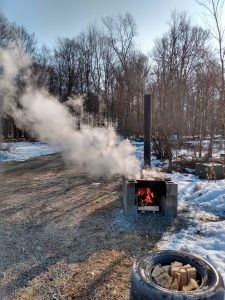
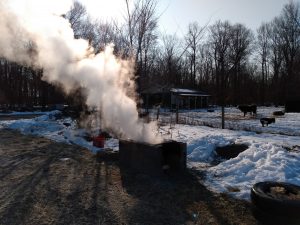
And there is a lot of steam that comes off of that sap!
There are some really great boiling/evaporating equipment out there. A quick search produced multiple companies, none of which I am able to give an informed opinion about. We wanted to do it old school and with a structure that we could tinker with and change whenever we wanted.
We had a very basic, how-did-this-work, setup the first year we ever boiled. It was just a grate over a fire with some large baking pans sitting on top.
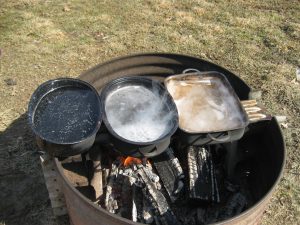
While that looks crazy, it does prove that you can boil sap in about any type of setup.
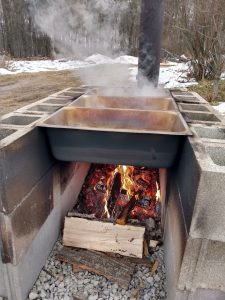
I want to say that we used that exceedingly basic style for two years before my husband made a new design for a boiling system. We used cinder blocks to build up a three sided structure that was 3 blocks high, by 3 blocks long. The length of the structure allows for three steam table pans, which are held up by the sides of the walls.
The picture below gives a better visual than I’m, probably, describing.
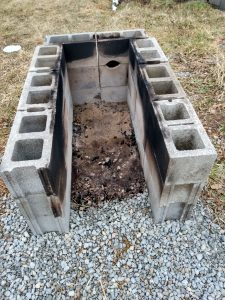
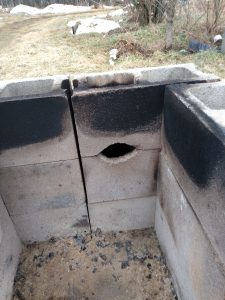
Along the back of the structure is a hole that we cut out for the fire’s smoke to escape through and up a metal pipe.
The steam table pans we purchased were recommended by other backyard syrup boilers. They’re 6 inches deep and are just shy of 21″X13″. They can be found HERE.
We would pour new sap into the first pan, the one farthest from the direct heat, and allow it to gradually warm while we put our main focus on the remaining two pans. Pan #2 was where most of the boiling took place, while pan #3 was where we would pour the more condensed sap that was on the final legs of the boiling process.
When the sap in pan #2 (either through boiling down or transferring to pan #3) became to low, we would pour sap from pan #1 into pan #2. Because that sap will already be warmed, there will be little change in the temperature of pan #2 and the boiling can keep going at full speed.
While boiling the sap, especially at the beginning, a foam will form on top of the sap. I’ve been told this has a bitter taste to it (I’ve never tasted it, so can’t verify that) and needs to be skimmed off to keep the sweetness of the final syrup from having a bitterness.
Maple syrup is considered done when it reaches a temperature of 7° F (or 4° C) above boiling. That is usually 219.2° F (104° C), but it doesn’t hurt to double check by boiling water that morning. I won’t lie, we usually just aim for 219.2° F and are happy with that.
When boiling outside, our goal is to get as close to 219.2° F as possible. Once within a degree or two, we pour the syrup into a large pot/dutch oven and finish the last bit on the stove. This just gives us a little better control over precision with the temperature and being able to pour the syrup straight into the jars waiting on the counter.
Boiling sap does take awhile. We like to turn the all-day event into a fun day of hot dogs and sap tea (make sure it’s with sap that has been skimmed of the foam first) and, when we are down to just one pan left, we bring out…
THE S’MORES!