This was so much fun to make and much easier than I thought it would be. All it takes is yarn, a needle and thread, and a pillow.
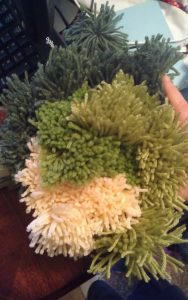
Step 1: Pick out the colors you want for the camo. I went with the traditional green style.
Step 2: Draw a rough design of the camo outline on the pillow. This will be covered by the yarn pom-poms.
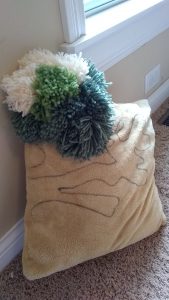
In this picture, you can see that the outline I drew was a very rough sketch, but the yarn covered it up completely. This is something that can be changed as you go, so relax and just draw.
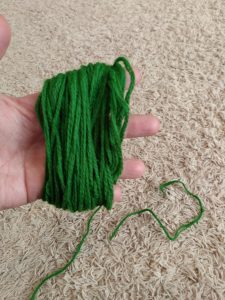
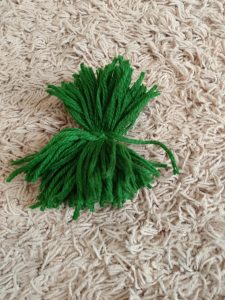
Step 3: Make the pom-poms. Depending on where you look, some websites recommend rolling the yarn around toilet paper rolls, books, your hands, etc. I just used my hand with fingers spread and wrapped the yarn around 50 times.
What’s really great is that you can make your pom-poms larger or smaller. Some of the tighter sections where a color came to a point, I made small pom-poms where I only wrapped the yarn around my hand 10 times.
Once you have your desired size, cut the yarn free from the skein and, also, cut a small segment of yarn to act as your tie. Gather the yarn pom-pom together at the center and use the small segment of yarn to tie the center tight.

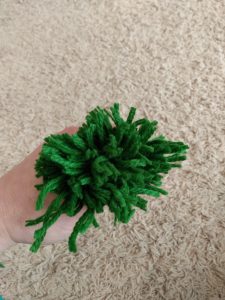
Trim the ends of the tie and cut the ends of the pom-pom so they no longer curve around.
The tied section in the center of the pom-pom is where you’ll attach it to the pillow and it’ll collect together to look like a little pom-pom.
Step 4: To attach the pom-pom to the pillow. Decide where you want it to go and lay the pom-pom flat against the pillow. With the needle, insert it into the pillow on one side of the pom-pom’s center and remove it from the pillow on the other side of the pom-pom’s center. Tie the two sides of thread together to finish attaching the pom-pom to the pillow. I used thread because I had a lot of it, but you can use a large needle with yarn as well.
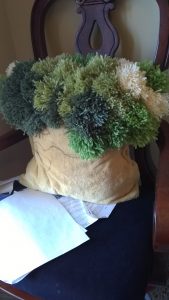
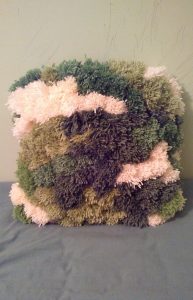
It took some time and patience (and hiding it from my daughter so she couldn’t destroy the pom-poms), but we got it all done!
And with a matching card, too!